

Results 61 to 80 of 82
Thread: Alternative to Grill Insert
-
05-14-2009, 11:09 AM #61She Moderator


- Join Date
- Jul 2008
- Location
- So Cal
- Age
- 61
- Posts
- 15,660
Arctic White- 2000 Camaro Z28
Did you order those inserts? Originally Posted by levityinc3

And, I envy you your rain. Sure could use some out here!
-
05-14-2009, 01:52 PM #62Give me a place to stand.

- Join Date
- Jul 2008
- Location
- Jacksonville, FL
- Posts
- 1,449
Red- 2000 SS '89 IROC-Z
Gahhh. It's coming god dammit. Originally Posted by mild2wild
Not yet, but I'm going to. Originally Posted by KahanaReef
-
05-14-2009, 05:13 PM #63Give me a place to stand.
- Join Date
- Jul 2008
- Location
- Jacksonville, FL
- Posts
- 1,449
Red- 2000 SS '89 IROC-Z
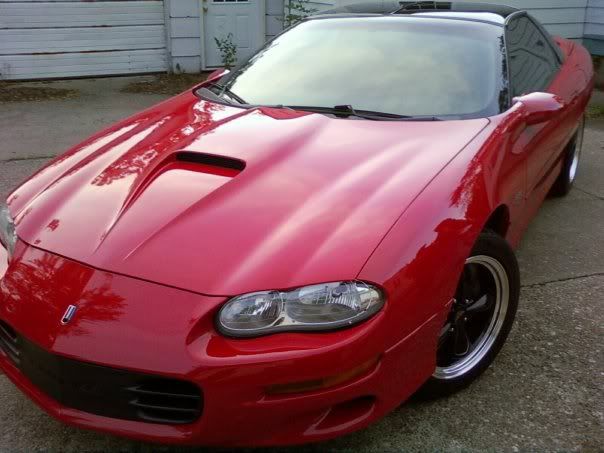
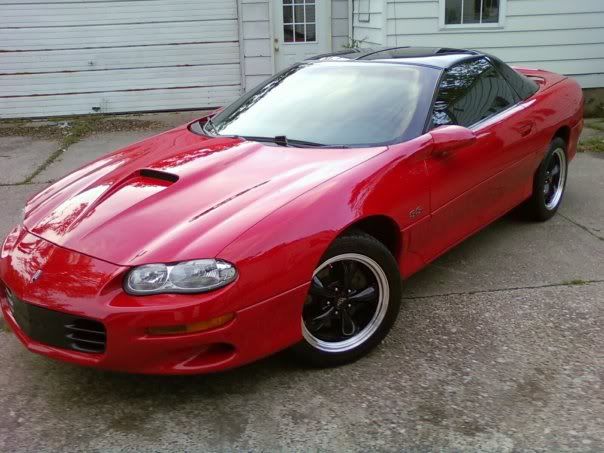
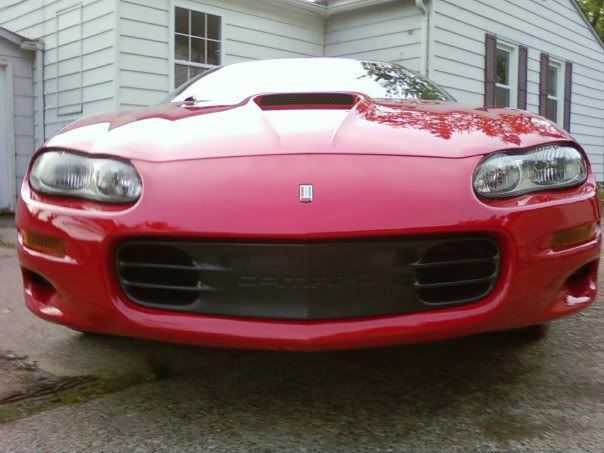
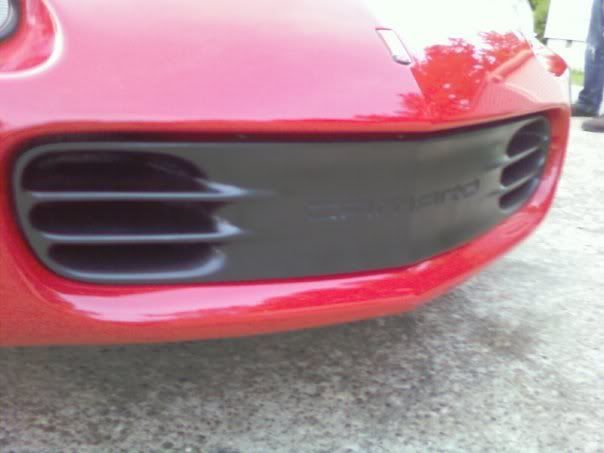
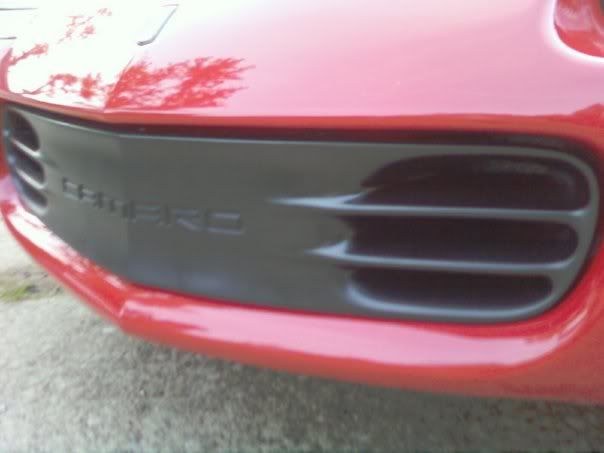
Had a little photoshoot. It's not done yet; I've still got to order the red inserts for the CAMARO part. The low resolution camera phone pictures don't do the shininess justice. You can't see the holes that were drilled into it from the license plate bracket, and it's a lot glossier, so I think I did a pretty good job.
After my first go. I did a shitty shitty job.
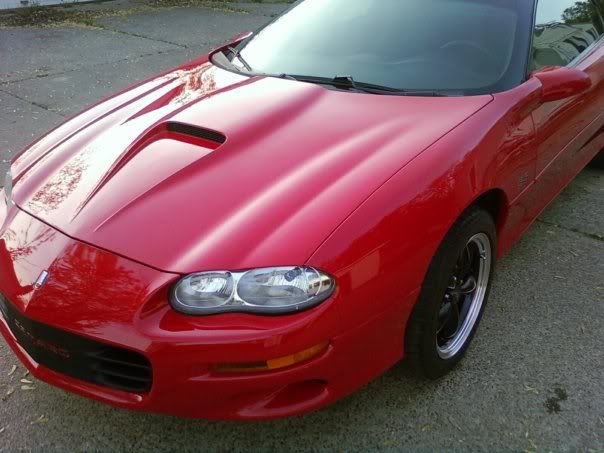
Almost done.
-
05-14-2009, 05:17 PM #64She Moderator
- Join Date
- Jul 2008
- Location
- So Cal
- Age
- 61
- Posts
- 15,660
Arctic White- 2000 Camaro Z28
You did great!
-
05-14-2009, 05:21 PM #65Give me a place to stand.
- Join Date
- Jul 2008
- Location
- Jacksonville, FL
- Posts
- 1,449
Red- 2000 SS '89 IROC-Z
Thanks Dena! I may take it out again and give it a real fine sand. Probably 2000 grit, wet. And then spray some more to make it glossier. I was just sick of that holey sun-faded matte gray/black. Originally Posted by KahanaReef
-
05-14-2009, 05:45 PM #66She Moderator
- Join Date
- Jul 2008
- Location
- So Cal
- Age
- 61
- Posts
- 15,660
Arctic White- 2000 Camaro Z28
I think that would be good. I know you wanted a bit more shine to it. Originally Posted by levityinc3
But, you really did do a good patch job on it
-
05-14-2009, 07:06 PM #67Member

- Join Date
- Apr 2009
- Location
- E of Rochester NY
- Age
- 56
- Posts
- 116
Orange/Black- 1999 Camaro SS

You did a hell of a job, looks great!
 I'm a CHICK with a gun and an LS1, nuff said...
1999 CAMARO SS #81 of 4829
LS6 intake * 3.73's * Borla catback * L/T Headers
ZO6 18's * MSD/NGK * SLP Lid/Bellows * KYB Adjustables
Summit Racing Springs * Fresh paint/interior in 08
-
05-14-2009, 10:51 PM #68Give me a place to stand.
- Join Date
- Jul 2008
- Location
- Jacksonville, FL
- Posts
- 1,449
Red- 2000 SS '89 IROC-Z
Summary
For those that don't want to buy a new insert, and either want to repair their stock insert from bracket damage, or just want it to look better, this is for you.
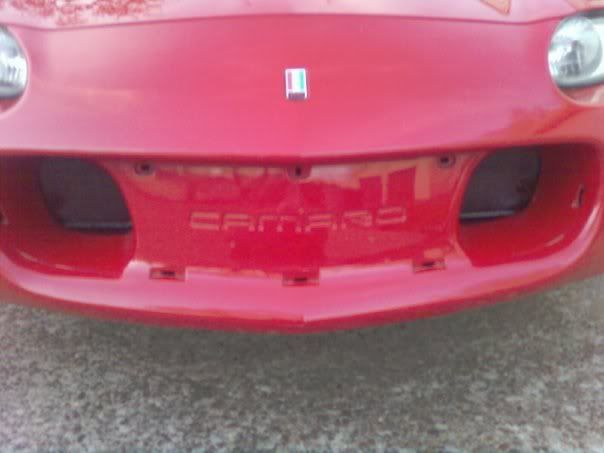
Remove the insert. Plastic clip-ins on the sides and bottom, and plastic bolt things on the top three. It will look like this without it.
After that, wash the stock insert. Then fill the holes with either bondo, or plastic repair caulk. I used plastic repair caulk, and it was runny, sort of messy, but worked beautifully. Tape the back of the holes, and fill.
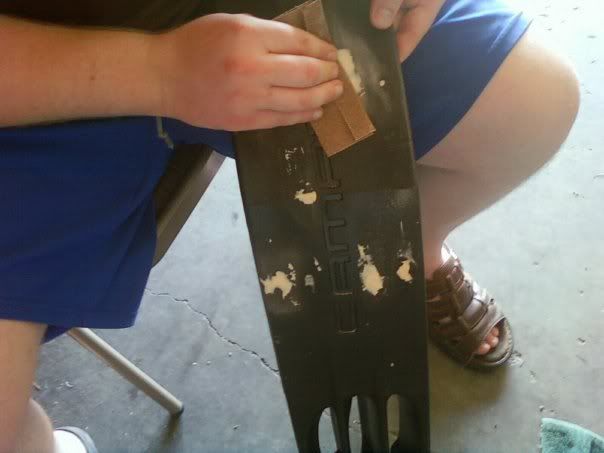
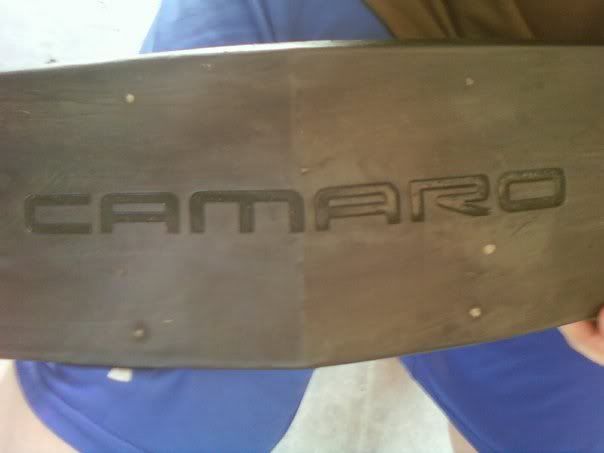
Then sand it. When they molded the piece they had it texturized so that it has that rough feel/look. I wanted a smooth, glossy texture. I started with 120 grit, and had a drill attachment which helped speed it up. From 120 I went to about 220, or finer if you want. The sand paper will tear it up pretty good, but don't worry. Should look like this when you get the shit off.
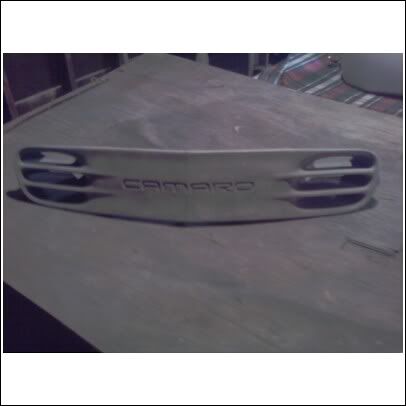
After that then sand a lot more. Once you feel that it is smooth, then use glazing putty and a spreader to fill in any other pits or holes that you either created or missed. Let it dry, then sand some more with fine sandpaper. I used 2000 grit, and it got smooooooth. It will look like this. As you can see I didn't put it in the slotted parts. I didn't really sand their either, looks pretty cool.

After it's real smooth, then spray with primer. Then sand with more 2000 grit, then put on another coat. Then sand again.
After it's nice and primed and smooth, then you're ready for paint. I did mine black, but seeing another color would be pretty sweet.
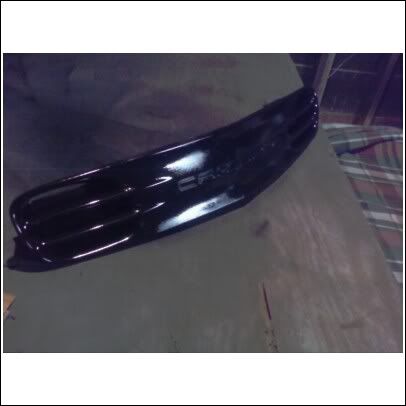
After drying, you can either paint the inside of the CAMARO, or you can buy inserts for it.
http://cgi.ebay.com/ebaymotors/Camar...RCHQ3aUSQ3a105
Mine is without inserts currently.
-
05-14-2009, 10:57 PM #69Member

- Join Date
- Apr 2008
- Location
- Bay Area
- Posts
- 8,114
On your ass flashing- my highbeams
looks good-sticky worthy?
-
05-14-2009, 11:01 PM #70Give me a place to stand.
- Join Date
- Jul 2008
- Location
- Jacksonville, FL
- Posts
- 1,449
Red- 2000 SS '89 IROC-Z
Hm, dunno. Not sure if there's any demand for it. Originally Posted by c5z28
-
05-15-2009, 05:26 AM #71Member
- Join Date
- Apr 2009
- Location
- E of Rochester NY
- Age
- 56
- Posts
- 116
Orange/Black- 1999 Camaro SS
I would say hell yeah! Not everyone has the $$ for a new SLP or CF nose piece (grille) and this is an excellent way to save money and make that piece POP again. Originally Posted by levityinc3
It's HOTNESS thats worth STICKINESS!
Last edited by mild2wild; 05-15-2009 at 05:28 AM.
-
05-15-2009, 05:57 PM #72Just me

- Join Date
- Nov 2006
- Location
- Broken Arrow, OK
- Age
- 50
- Posts
- 23,345
Pewter metallic- 2000 Camaro SS
The idea is worthy of a sticky, but I would prefer you start a new thread with all the technical info and then I can sticky that.
-
05-15-2009, 06:04 PM #73She Moderator
- Join Date
- Jul 2008
- Location
- So Cal
- Age
- 61
- Posts
- 15,660
Arctic White- 2000 Camaro Z28
Hey... your first sticky

-
05-15-2009, 06:13 PM #74Member
- Join Date
- Apr 2009
- Location
- E of Rochester NY
- Age
- 56
- Posts
- 116
Orange/Black- 1999 Camaro SS
-
07-15-2009, 11:47 AM #75Lead Foot

- Join Date
- Jul 2009
- Location
- Upstate NY
- Posts
- 461
Black- 2000 Z28 M6
about the Styrofoam.... has anyone figured out a mod to cut it out and make some kind of ram air or something? cuz it seems like that would be good use of the 2 big holes in front... hahaha
-
07-15-2009, 07:10 PM #76Something Diabolical...

- Join Date
- May 2007
- Location
- Houston, Texas
- Posts
- 2,677
- 2000 C5 Torch Red
How long do you have to wait between primer'ing and sanding? I've never learned myself. Then after you sand, do you rub back down with rubbing alcohol or something else before re-primering?
Thanks, I'm a paint noob.
-
07-15-2009, 08:59 PM #77Give me a place to stand.
- Join Date
- Jul 2008
- Location
- Jacksonville, FL
- Posts
- 1,449
Red- 2000 SS '89 IROC-Z
A couple hours will do yah. And yeah it couldn't hurt to rub it down after you sand. I would use acetone however, and maybe some tack cloth. You might not even need the primer, I just did it because I had some. Good luck, let me know how it turns out. Originally Posted by chuckie669
-
07-18-2009, 11:53 AM #78Junior Member
- Join Date
- Jul 2009
- Location
- nebraska
- Posts
- 6
white- 2001 SS CAMARO
how do you get to the 3 nuts on the back of that front molding? the peice that you painted.
-
07-20-2009, 12:12 AM #79Just a slow Camaro

- Join Date
- Oct 2007
- Location
- Fresno Ca
- Posts
- 2,228
LPM- 2002 Z28 Camaro
 you can do it the "right" way and take the bumper off or you can do it the quick way…. Pop the little clips on the sides out and the 3 on the bottom then grab hold of the grill and keep yanking and pulling till it pops off. Might sound and seem like you are ripping the whole front end off but you wont. Originally Posted by GMPPDEALER
-
07-24-2009, 12:47 PM #80Junior Member
- Join Date
- Jul 2009
- Location
- nebraska
- Posts
- 6
white- 2001 SS CAMARO
im trying to put one back on!

 Reply With Quote
Thread Information
Users Browsing this Thread
There are currently 1 users browsing this thread. (0 members and 1 guests)
Similar Threads
-
SLP Grill Insert- Problem
By levityinc3 in forum General HelpReplies: 3Last Post: 04-24-2013, 06:08 PM -
SLP SS grill insert 4 a 2000 camaro
By LS666BEAST in forum Parts Wanted / TradeReplies: 0Last Post: 07-19-2010, 06:50 PM -
Nice Stock Grill Insert
By levityinc3 in forum Appearance SectionReplies: 10Last Post: 05-20-2009, 08:05 PM -
Ram Air Grill Insert Stainless
By Smkn_TA in forum Parts For Sale / TradeReplies: 4Last Post: 10-04-2007, 04:57 AM -
WTB SS Hood insert/grill
By ProwlerZ in forum Parts Wanted / TradeReplies: 2Last Post: 02-07-2007, 05:19 AM

Bookmarks