
Results 1 to 5 of 5
-
05-25-2011, 06:28 PM #1Veteran


- Join Date
- Feb 2009
- Location
- Mansfield, PA
- Posts
- 22,146
Black & Blue- '02 WS.6 / '07 Suburban
Auxilliary Transmission Cooler Installation
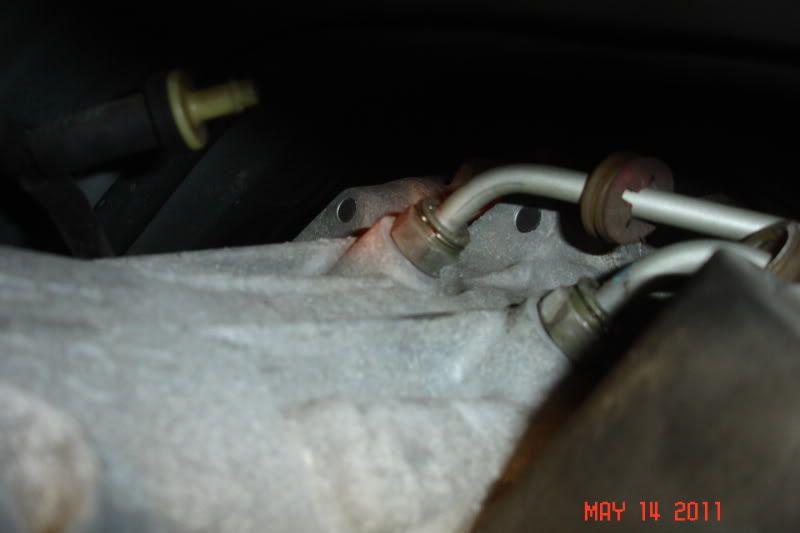
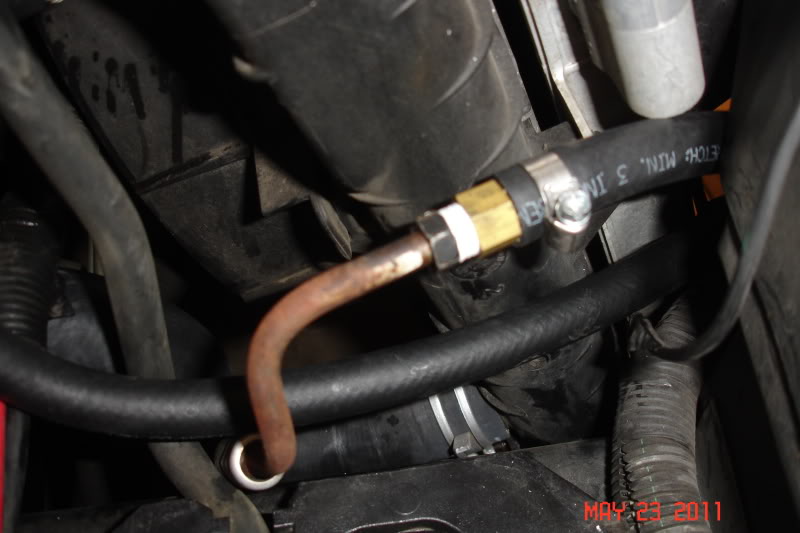
When running a higher than stock stall torque converter you need to supplement your transmission cooling to control fluid temps. Even without a higher stall, an auxilliary cooler is not a bad idea as the cooler the fluid is kept, the longer your transmission will last. On the passenger side of the transmission, there are two lines that are clipped into special fittings. The bottom line is the hot fluid exiting the transmission and running to the radiator. The top line is the cooled fluid being returned to the transmission. The lines are retained by special clips and fortunately do not have to be removed for the installation. In the first pic, the caps have been pulled back to access the clips -- this was done to facilitate removal of the transmission.
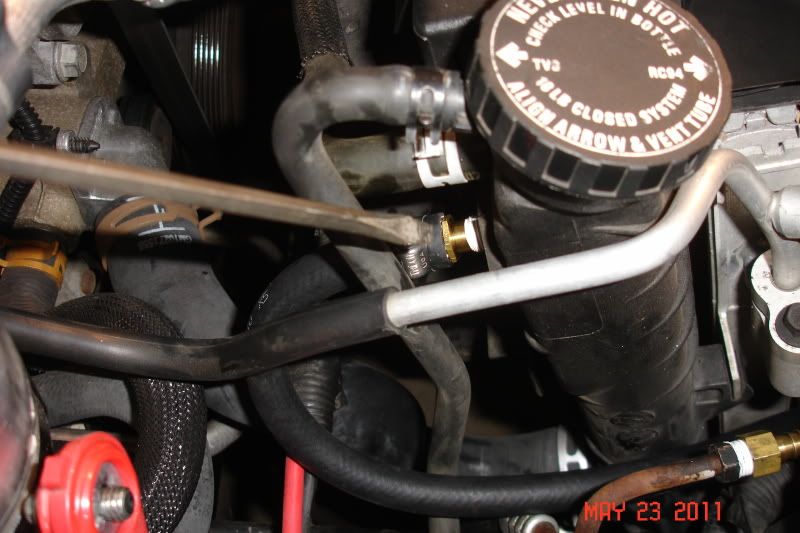
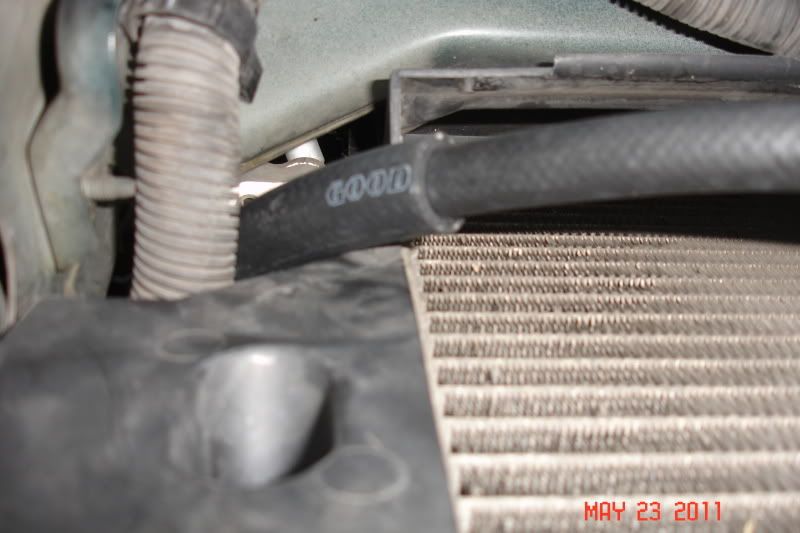
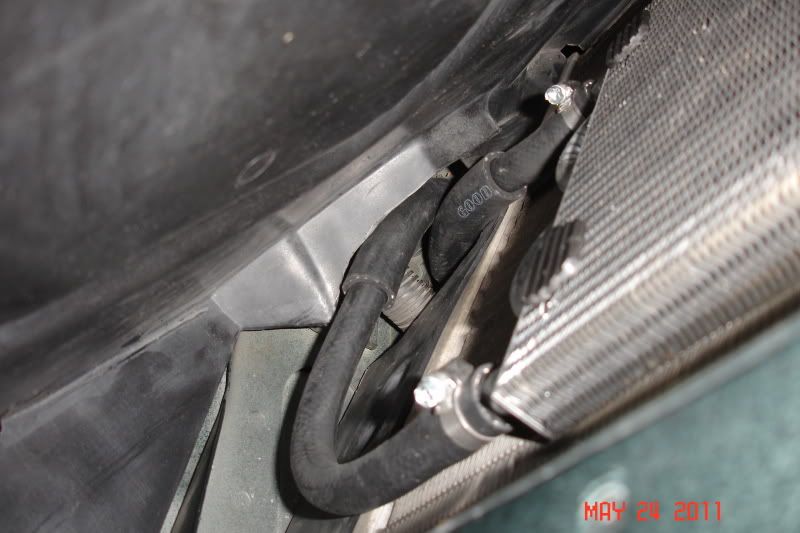
At the radiator, the line routing matches the transmission. The bottom fitting is the hot fluid from the transmission and the top fitting is the return. It is best to run the auxilliary cooler in series with the radiator so that the fluid is first cooled by the radiator and then goes through the auxilliary cooler before being returned to the transmission. This has been debated before, however, there is simply no question that fluid is better able to absorb heat than air.
The Performabuilt transmission that I installed comes with a tube and fin style aluminum cooler. I had previously purchased a B&M stacked plate cooler that I was going to mount on the car as I understand it to have superior cooling capabilities. Unfortunately, the B&M unit is thicker than the Hayden tube and fin piece and once I test fit each cooler in front of the A/C condensor, it was clear that the tube and fin style would both fit better and allow more air flow to the condensor and radiator.
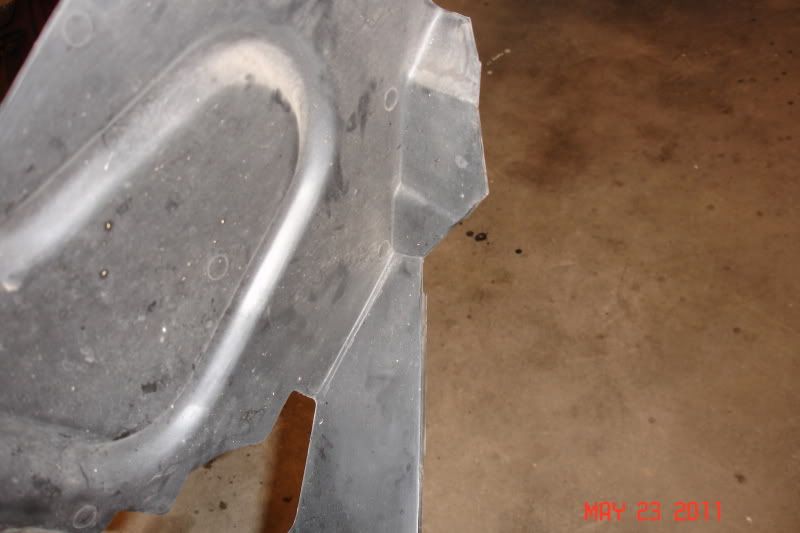
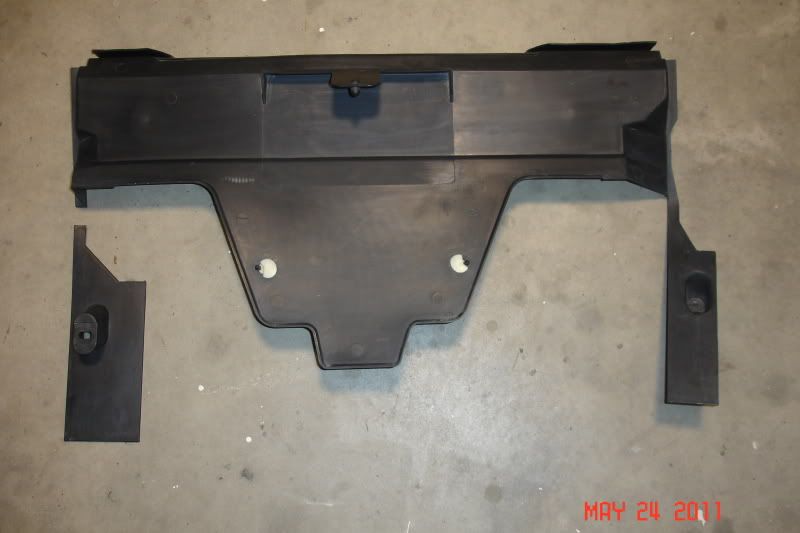
Inspecting the layout of items, I found an access point on the passenger side of the radiator through which a large wire harness passes. I used this as my run for the hoses as it was the most direct route and was fairly protected from sharp edges. I removed the bottom ductwork that is clipped to the bumper support with three (3) pins, two (2) bolts and two (2) fasteners. The passenger side edge was trimmed back to allow for the hoses to be routed adjacent to the radiator. The second pic shows the piece as it was removed and further below you can see the second round of trimming as the initial cutout was later enlarged as the installation progressed.

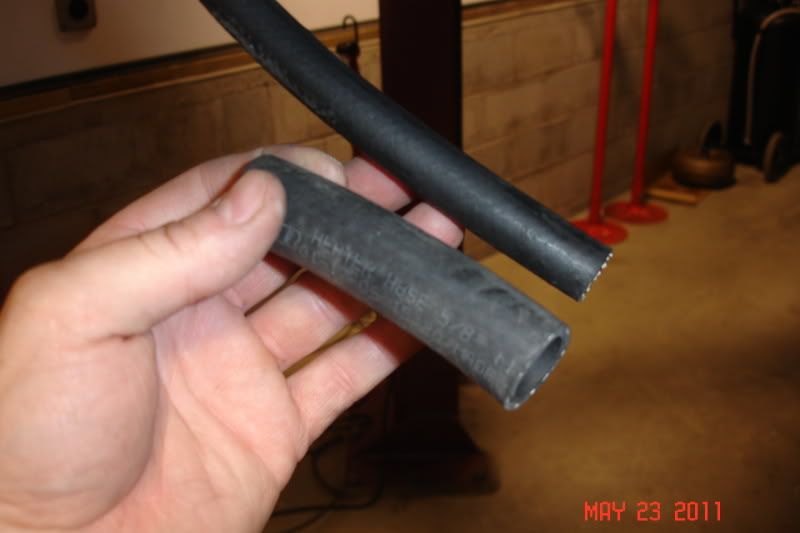
The coolers each came with fittings to screw into the radiator and to couple with the stock line. As outlined above, I needed to unscrew the top return line, and after applying teflon tape, I installed the appropriate fitting with a hose barb. On the line, a coupler that is also equipped with a hose barb was installed with teflon tape. These are flare fittings so they do not need to be tightened a whole bunch to seal -- be semi-gentle or you risk cracking a fitting or breaking your radiator. The hose was then routed first from the radiator fitting to the approximate location of the cooler before being cut. This was then repeated for the hose from the line to the bottom fitting of the cooler. I found an old heater hose that I had laying around the garage that fit snugly over the cooler hoses. I used sections of this slid over the hoses to protect them from any sharp edges.

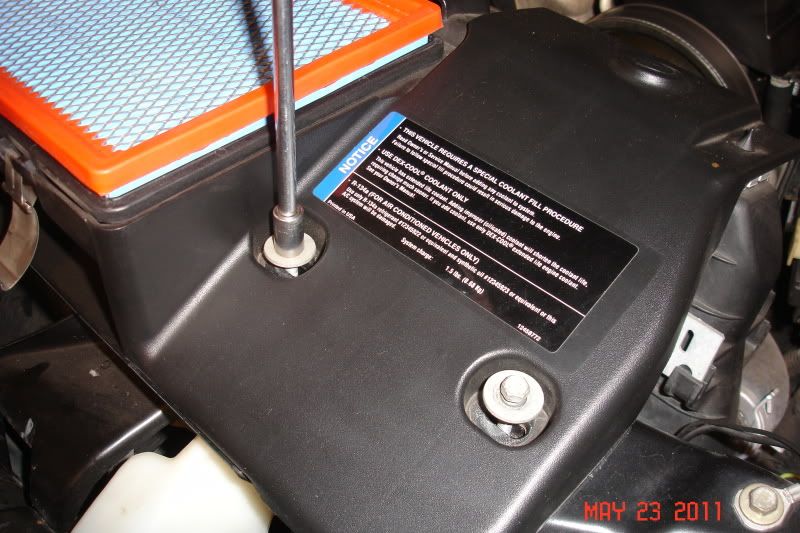
After routing the hoses, I then positioned the cooler and applied the foam pads to cushion and protect it from chafing on the condensor. Special zip ties are utilized to secure the cooler in place by inserting them through the cooler and then the condensor and/or radiator. After looking things over, I elected not to remove my fan assembly and instead separated the condensor from the radiator by removing the lower air box which acts as the upper radiator support. There is also an upper air duct that is removed by popping clips on each side of the radiator and pulling it up from the top of the car.
The condensor was then lifted up from its mounting tabs allowing access to install the clips. At this point, I installed the hoses to the cooler and positioned it on the condensor. There was not a whole lot of space, and I tore my hands up a bit, but it worked as intended and was quicker than the alternative. The zip ties are "one use only" so you want to get them positioned correctly the first try. Do not clamp them down super tight as this will compress the foam pad too much -- you just want them to be snug.
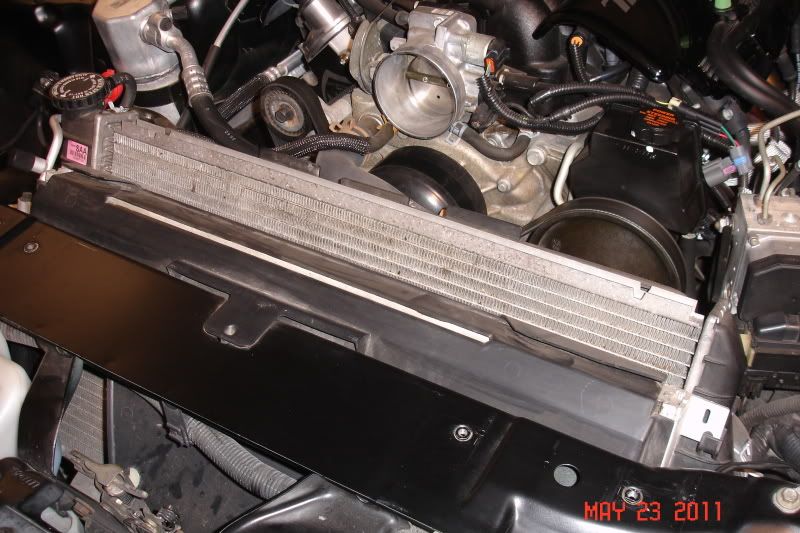
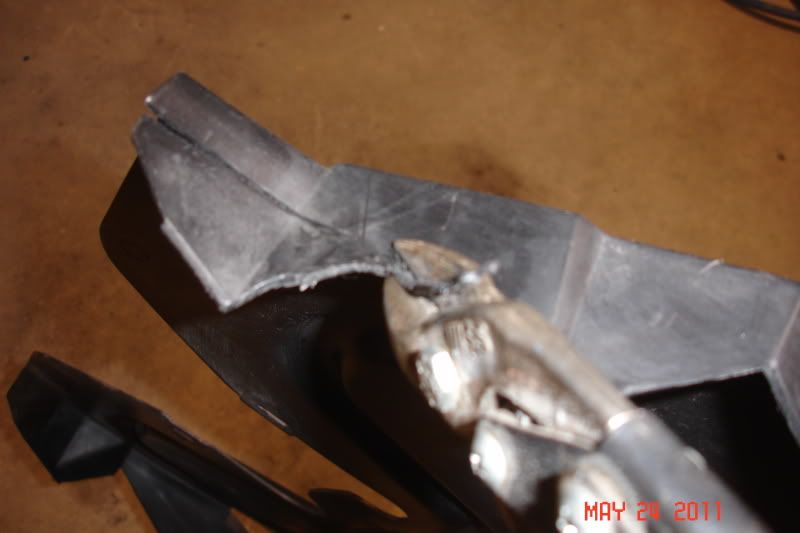
Note that in this pic, I cut the left side leg off in order to be able to re-install the panel with the cooler mounted. There simply was not enough space to slide it between the lines and condensor. The cut off piece was clipped in place and due to the manner in which the upper piece is mounted this does no harm.
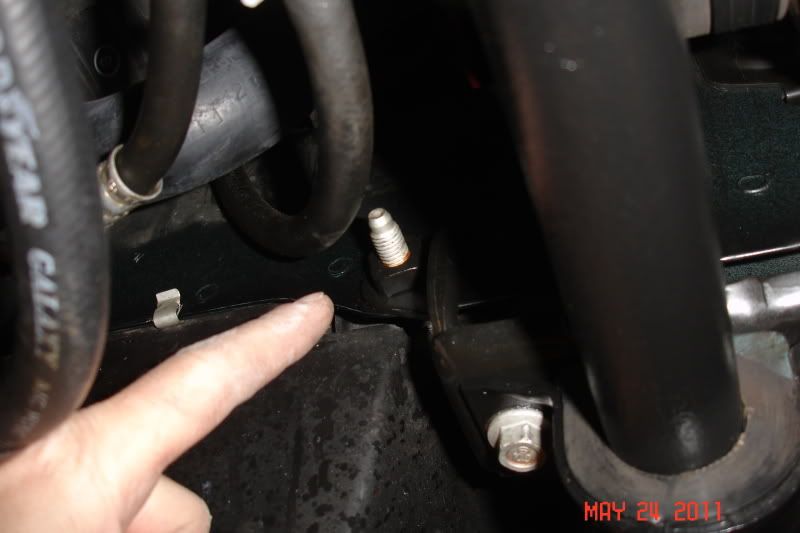
The installed cooler fits nicely and was mounted low to be in the direct flow of air entering from under the car. The side of the bottom air duct panel was further trimmed due to the thickness of the heater hose that I applied over the cooler hoses. With all the ductwork secured there is no question that unobstructed air flow will reach the condensor and radiator with the tube and fin unit in place. Upon completing the installation, the only area of concern was a bolt in the passenger side frame rail that was in close proximity to the factory line. I installed a vacuum cap on it just in case the cooler line should ever come in contact with it.

I will most likely install a transmission temperature gauge at some point in time to keep an eye on things. Our car serves both street and track duty so the 3,200 stall converter will definitely be put to use. The auxilliary cooler should act as an insurance policy to control fluid temps so as to avoid any unnecessary damage to the transmission.
-
05-26-2011, 05:56 AM #2None Shall Pass


- Join Date
- Jan 2010
- Location
- East of Cleveland, Ohio
- Posts
- 3,827
Black- 99 WS.6 - Modified
Another great write-up Jeff! Pretty soon, you're going to have to compile all of them and release a book.
 It's a shame you didn't already have a tranny temp guage installed to see how effective the aux. cooler is.
-
05-26-2011, 08:52 AM #3Veteran
- Join Date
- Feb 2009
- Location
- Mansfield, PA
- Posts
- 22,146
Black & Blue- '02 WS.6 / '07 Suburban
I thought about that -- no way to compare the effect of just adding a cooler to the stock transmission. However, using our Suburban as an example, it came with an aftermarket auxillary cooler and hardly ever gets above 140 degrees. Pulling the empty trailer it topped out at 163 degrees on some long hills.
-
05-26-2011, 11:58 AM #4Senior Member

- Join Date
- Jun 2009
- Location
- Ohio
- Posts
- 1,017
Sunset Orange Metallic- 2002 Z28 Hardtop
Nice write up. This should answer a few questions.
-
09-08-2011, 03:24 PM #5dbl clutch'n like i shld

- Join Date
- Aug 2010
- Location
- Oklahoma City, Oklahoma
- Posts
- 1,807
sebring silver- Y2K SS CAMARO
Why isnt this a sticky? lol great writup jeff

 Reply With Quote
Thread Information
Users Browsing this Thread
There are currently 1 users browsing this thread. (0 members and 1 guests)
Similar Threads
-
Question: Transmission cooler installation
By dethinboots in forum GTOReplies: 12Last Post: 04-22-2015, 07:57 AM -
Question: Transmission Cooler
By fbodyNATION in forum DrivetrainReplies: 3Last Post: 07-31-2011, 06:20 PM -
Transmission cooler
By pajeff02 in forum DrivetrainReplies: 22Last Post: 06-02-2011, 07:59 AM -
Question: Transmission Cooler
By pmolina0436 in forum GTOReplies: 8Last Post: 04-19-2011, 09:06 AM -
T-56 transmission cooler...??
By Fibbado in forum Manual TransmissionReplies: 3Last Post: 06-09-2006, 06:18 AM

Bookmarks