
Results 1 to 2 of 2
Thread: PCM Relocation (How to)
-
07-23-2009, 04:09 PM #1Member

- Join Date
- Apr 2008
- Location
- Tucson
- Posts
- 168
Psycho Therapist- I take "the" out of
PCM Relocation (How to)
To those of you who are interested in relocating your PCM. I took myair conditioning out, I believe this is the only way to complete this project. I also had the dash apart, but you can do it with the dash still installed. Materials that are needed, are a delete panel, something to cut it with (Dremel) 22 strands of 3 feet of 20 gauge wire, one 3 foot 10 gauge wire. A soldering gun, solder, Heat shrink, wirecutters, and strippers (for the wires, not for entertainment) a drill oryou could use the dremel to cut a hole in the fender, some type of silicone to seal the panel. And your choice of beverage.First thing is to disconnect the battery! Then you can take out the PCM.

Once the AC is out, you then have to take your delete panel, eitherbought or made, and cut two holes in it for the wires to go through. The ones leading from the Starter, which are wrapped in heat tape, and the main wires running behind the engine block. Now I never did the wire mod, so my holes are a little different, more on that later.
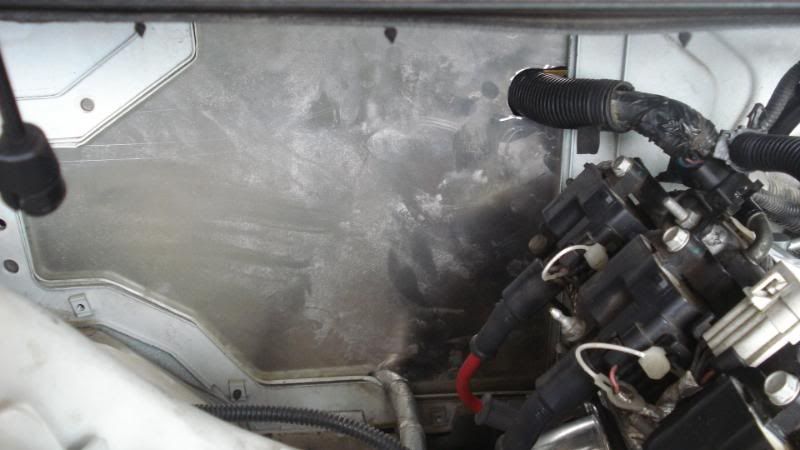
Once you have the delete panel, start cutting where you want the wiresto go. I cut mine at the top right (looking from the front bumper.) and at the very bottom. I then placed the PCM and the wires that usually run over the fender,inside the glove compartment. I just disconnected them from the connecters....it was the easiest.


The only wires that need to be lengthened are these 23 wires. Most are 20 gauge, some are 22 and there is one 10 Gauge. I made them all 20 to make it easier. I picked some red 20 gauge wire, up at the local parts store, it is 100feet.

Then measured 3 feet and cut 22 strands. After that I cut the connecters one at a time, making sure I labeled each one.

After cutting all the connecters and having them labeled I soldered the new wire to the old wire.

I labeled each of the lengthened wires to correspond. After the wires where labeled I wrapped them up in electric tape, and placed them in a wire loom.
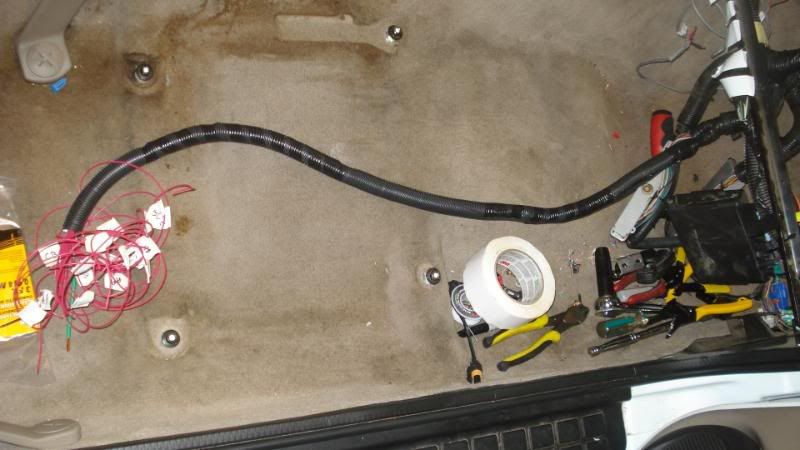
I then drilled a hole in the passenger fender. I had to take off the splash guard. Once the hole was drilled, I ran the wire through the hole and soldered the ends to the connecter ends, making sure all the labels were the same.


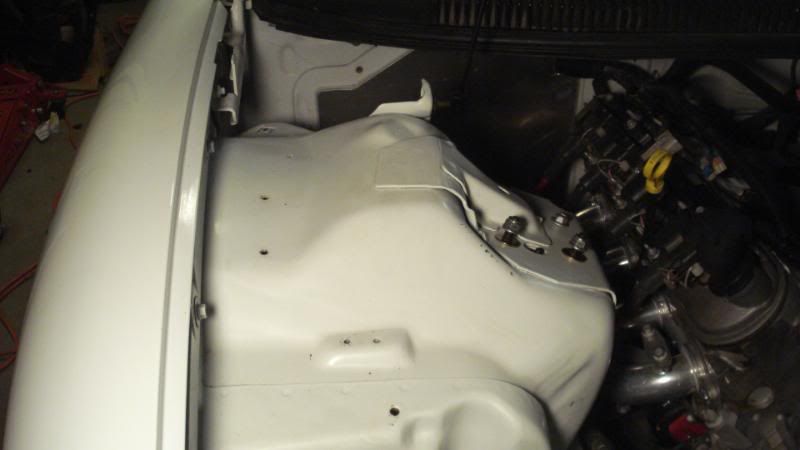
Once done with that I connected the connecters and put the splash guardback in. Looks just like the wire mod, but I did not cut a whole in the fender to the engine compartment, instead it was to cabin area. I would assume you could just run the wires through the grommet in the fire wall to the hole in the engine compartment if you have already done the wire mod. I put in the delete panel, plugged back in the PCM and then connected the battery back up. Start her up, make sure nothing is running crazy,and then sit back and enjoy the lust and envy from those that see your car for now on.

-
07-23-2009, 08:59 PM #2Awaiting Activation
- Join Date
- Sep 2007
- Location
- Philly+Glenmoore, Pa
- Age
- 35
- Posts
- 4,703
Pewter Metallic- 2002 Trans Am WS6 M6 D1SC

Awesome write up and it looks amazing!
Man if I wasnt so afraid of cutting up my car I would definitely do this!
Maybe one day.
You should do an a/c delete write up too and I'm sure this and any of your other ones will be put into the mod archives! Good work man!

 Reply With Quote
Thread Information
Users Browsing this Thread
There are currently 1 users browsing this thread. (0 members and 1 guests)
Similar Threads
-
IAT relocation
By 98TransAmWs-6 in forum External EngineReplies: 5Last Post: 07-17-2011, 08:34 PM -
TCS relocation mod
By MRM 01 in forum Showcar and DetailingReplies: 3Last Post: 04-14-2010, 02:14 PM -
PCM Relocation
By GhostofKrypton in forum General HelpReplies: 11Last Post: 05-25-2009, 04:44 PM -
Question: Amp Relocation
By MikeSomething in forum Stereo and ElectronicsReplies: 1Last Post: 05-12-2008, 12:54 PM -
UMI T/A & Relocation Bracket
By Jon7I2 in forum Suspension and HandlingReplies: 36Last Post: 03-24-2007, 05:25 PM

Bookmarks